
Tips For Remodeling Your Bathroom On A Budget
Bathgems’s Key Points
- Carefully plan out your remodel ahead of time, setting clear priorities and a realistic budget. Focus first on fixes that make the biggest impact.
- Save money by keeping the existing layout and plumbing configuration. Focus spend on surface upgrades like fixtures, finishes, lighting and storage.
- Upcycle existing materials in creative ways, such as refinishing tiles or repainting vanities. Shop secondhand stores for unique fixtures.
- DIY small projects to save on labor costs. But leave complex electrical or plumbing jobs to the professionals.
- Choose affordable yet durable materials. Vinyl flooring, engineered quartz counters and acrylic tub surrounds offer great bang for buck.
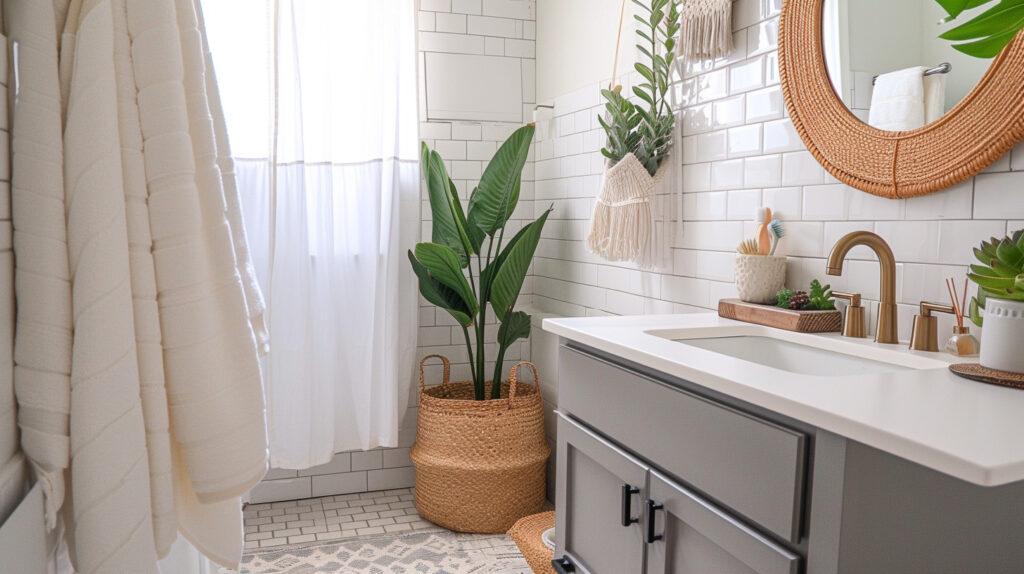
- Maximize every inch. Add floating shelves, pedestal sinks and wall-mounted toilets to open up floor space.
- Spend on key details. New shower curtains, art, mirrors and accessories make a bathroom feel designer.
As a homeowner, deciding to remodel your outdated, dysfunctional bathroom can feel like an exciting yet daunting task. You likely have plenty of dreams and ideas running through your head for your ideal bathroom sanctuary. However, the staggering average cost of a bathroom remodel may quickly extinguish that enthusiasm.
Reports show the average bathroom remodel runs from $6,000 all the way up to $15,000 or more. However, I’m here to tell you that you can absolutely remodel your bathroom beautifully and affordably. It just takes careful planning, creative solutions and a willingness to take on some DIY.
In this complete guide, I’ll walk you through everything you need to know to remodel your bathroom on a budget of $2,000 or less. You’ll learn clever tips for setting a realistic budget and priorities, saving on materials through upcycling and repurposing, and managing the renovation efficiently from start to finish.
Let’s dive in! Here are some of the key topics we’ll cover:
Setting Your Bathroom Remodel Budget
The very first and most critical step to any remodeling project is determining your budget. As eager as you might be to gut and fully transform your bathroom, you’ll need to set realistic expectations about what you can afford. Moving plumbing fixtures or equipment can hike costs drastically. The good news? There are countless ways to upgrade your bathroom’s look and function without blowing your budget.
Calculate What You Can Spend Upfront
First, review your overall financial situation realistically. Factor in income, expenses, savings and capital like home equity lines. Be brutally honest. There’s nothing worse than jumping into a pricey renovation you can’t actually afford. If your budget is extremely tight, consider even less expensive bathroom refresh ideas in the interim until you can save more funds.
As a general rule of thumb, plan to spend no more than 10 percent of your overall home’s value on a bathroom remodel. For the average home valued around $300,000, that means limiting bathroom remodels to the $25,000- $30,000 range. Our focus is the extreme low end of this spectrum obviously!
Set Your Maximum Budget
Once you know your upper spend limit, deduct about 10-20% as a buffer. Renovation projects frequently run over budget due to unforeseen issues arising. Things like needing to replace subflooring or discovering mold inside walls only appear once you start demo. Having an extra 10-20% buffer protects your overall budget.
Let’s say your total budget based on the home value metric allows up to $5,000 for your bathroom. After deducting 15% for contingencies, that leaves you with an upper limit of $4,250 or so. Consider this your absolute maximum for every single remodel expense. But our goal is to trim that number down significantly through smart planning and material choices. Read on!
Prioritize Your Bathroom Remodel Goals
With a clear budget in place, now carefully consider which elements of your bathroom are highest priority in terms of repair or upgrade. Make lists of every improvement you’d ideally love, then rank them by true necessity. This allows you to allocate budget smarter, focusing first on the changes offering the most impact. Things like cleaning grout or adding new shower curtains make huge visual impact at little cost for example.
Focus First On Functionality Upgrades
While cosmetic upgrades like new tile or vanities might excite you, limit their priority initially. Fix any existing functionality and safety issues in your bathroom first and foremost. Things like:
- Poor ventilation leading to mold
- Leaky plumbing under sinks or showers
- Faulty outlets and lights near water sources
- Unstable footing in showers
Attending to any urgent functional repairs should sit at the very top of your upgrade priority list. Not addressing issues like leaks or mold right away could compound existing problems.
Allocate Budget To Key Impact Upgrades Next
Once urgent repairs are complete, now allocate additional budget to a few carefully chosen upgrades making the biggest visual impact.
For most homeowners, these are the most cost-effective remodel investments:
- New shower curtain and accessories
- Crisp coat of paint on walls/cabinets
- Updated lighting fixtures
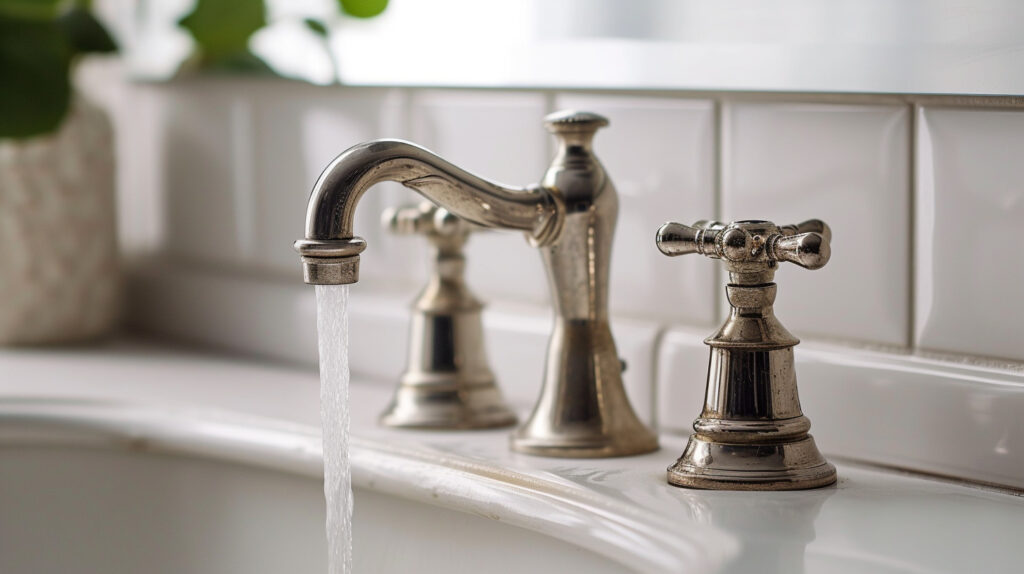
- New faucet fixtures
- Stylish, durable flooring
By thoughtfully selecting just a few standout upgrades based on room size, color scheme and style, you steer budget to elements making the biggest day-to day difference. Additional changes can wait for future years as more funds free up.
Saving on Material Costs
The materials selected for a bathroom remodel significantly sway overall cost. By getting crafty with upcycling existing materials and selecting affordable alternatives, you can modernize your bathroom while keeping spend low. Here are some of my top tips:
Upcycle/Repurpose Existing Materials
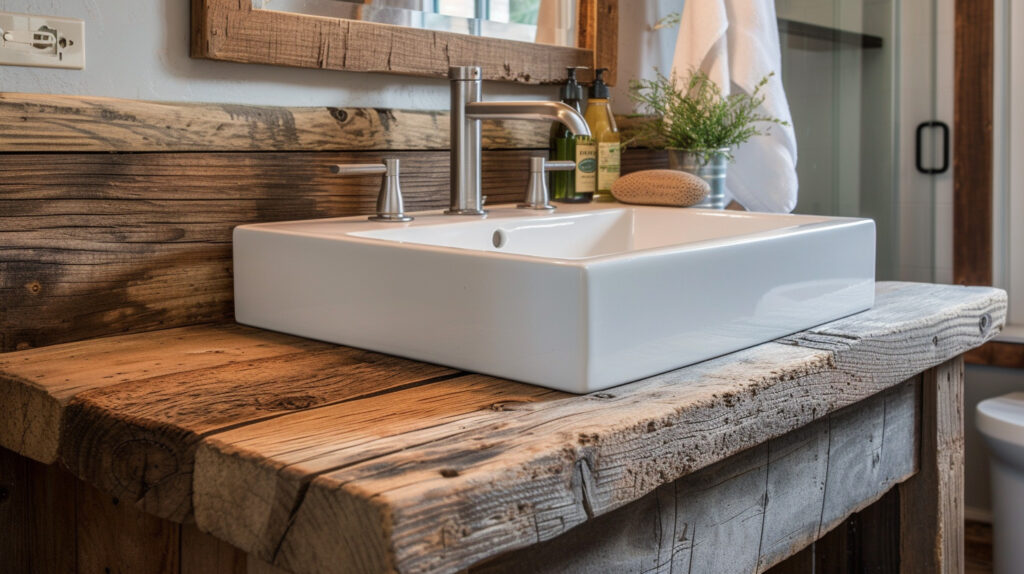
Rather than replace bathroom elements like cabinetry or decor, consider ways to creatively upcycle them instead for an eco-friendly, unique look.
- Sand and repaint wood vanities
- Use decoupage/chalk paint to customize mirrors
- Convert old side tables or dressers into vanities
- Add new knobs/pulls to cabinets
Check out eclectic items from thrift shops and Habitat for Humanity ReStores to transform your bathroom affordably.
Use Cost-Effective Floor Alternatives
Skip pricey ceramic tile in favor of wallet-friendly resilient sheet vinyl flooring. At $2-$5 per square foot installed, it offers the look of stone, wood or other finishes convincingly while standing up to heavy moisture. Brands like Armstrong Excelon add texture for traction and Müeller SafeTEC utilize mineral core layers making them naturally antimicrobial too!
Consider Acrylic Tub & Shower Units
Factory-molded acrylic surrounds cost just $1,500- $3,500 installed for an entire tub and shower area. That’s far less than extensive tile work! Brands like Sterling, Kohler or American Standard come sized to seamlessly fit any existing layout and tub replacing worn surfaces. White remains popular, but colorful options add modern flair too. Most important – unlike grout they resist collecting grime and mold between cleanings.
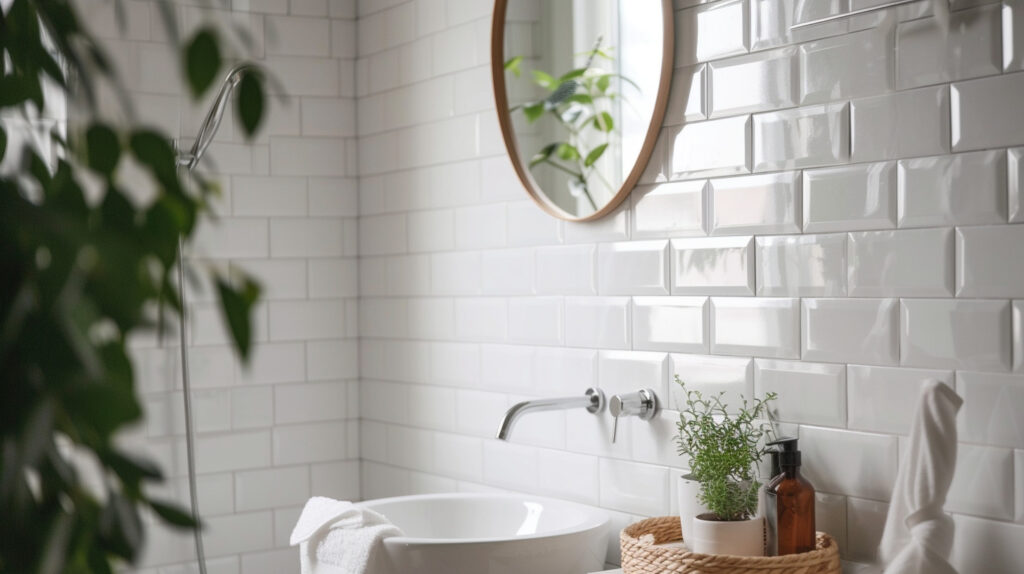
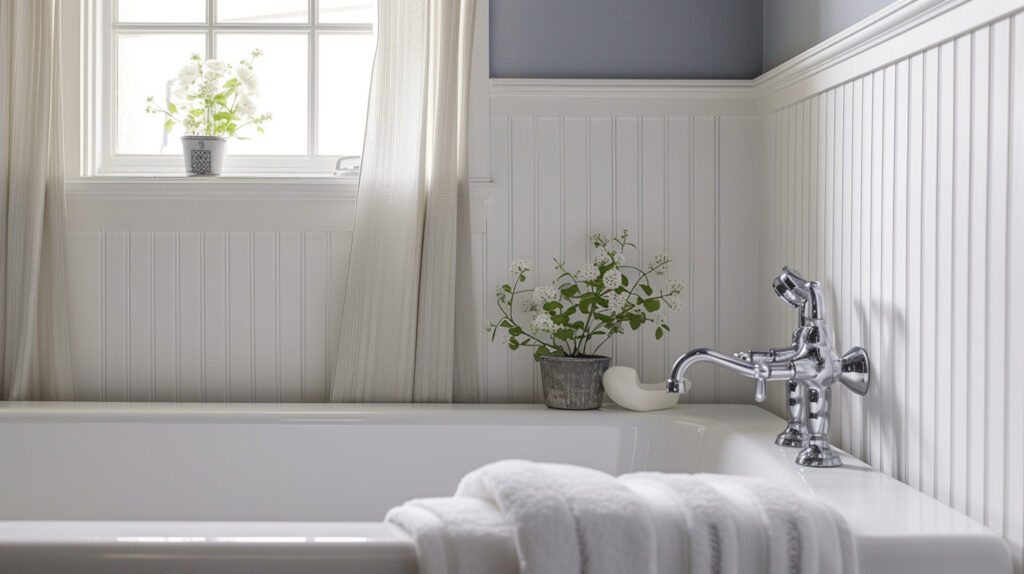
Use Paint & Paneling On Walls vs. Pricey Tile
While ceramic adds lovely texture visually, installing requires extensive timing and labor. Quality ceramic tile prices average $10-$50 per square foot installed. Instead apply moisture-resistant paint to existing surfaces or install affordable water-resistant fiberglass, acrylic or PVC panels for similar aesthetic at a fraction of the cost. Brands like Sterling, Faux Panels and Ply-Gem offer stunning stone looks these ways starting under $5 per square foot.
DIY vs. Professional
Beyond material selections, your remodel budget benefits highly from completing specific projects solo rather than hiring a general contractor. But tackle more complex electrical or plumbing tasks with licensed pros only to protect safety. Here’s an overview of ideal DIY tasks to save cash along with ones better left to qualified experts:
| DIY | Leave to the Pros |
|---|---|
| Demo of vanities or wall surfaces | Major plumbing like moving pipes or drains |
| Installing new flooring | Electrical (new vent fans, lighting, outlets) |
| Simple drywall mudding/taping | New cabinetry installation |
| Painting | Quartz or solid surface fab/install for countertops |
| Minor grout refresh | Structural changes |
| Building floating shelves | Major tile work |
| Removing old caulk/sealants | Refinishing tubs |
| Basic caulking around trim | Frameless glass shower doors |
If quotes from contractors seem astronomical don’t panic! Just be selective in requesting estimates for only those aspects priced excessively to your budget as DIY. Then pursue favored contractors for complex work beyond your skill range because their expertise delivers long-term value and protects safety.
Optimizing Budget Through Careful Planning
While saving on the bathroom remodel materials and accessories is crucial, keep additional expense control top of mind too throughout the process. Here are some key planning and project management tips homeowners overlook when trying to minimize total spend:
Architect Your Layout Virtually First
Rather than change up your bathroom layout drastically, work within the existing footprint creatively. Start by digitizing the current layout then experiment with various layouts and dimensions digitally using free floor planning tools like SmartDraw. Figure out new cabinet, fixture and decor placements without costly physical changes. Having this detailed layout mapped also proves extremely helpful later for the pros to follow efficiently.
Request Multiple Quotes
Never accept the first quote! When hiring qualified electricians, tilers or other necessary pros, always contact multiple options and compare several quotes first. Rates can vary tremendously between contractors for the exact same work. Beyond best pricing look for responsive pros willing to offer affable customer service throughout. They should welcome all questions transparently and provide reasonable payment plans too.
Minimize Demolition Where Possible
Don’t tear down drywall or remove existing tile purely for the thrill of it. Assess carefully what’s truly unsalvageable vs. what merely needs refreshing. For example, quality acrylic inserts can be installed right over existing damaged tile often eliminating demo time/costs. The less you demolish in terms of cabinets, flooring and drywall the more affordable completing the new room becomes.
Schedule Efficiently Around Subcontractors
Trying to oversee too many individual subcontractor crews simultaneously leads to chaos. Instead thoughtfully schedule crews in efficient order and timing their work in a coordinated fashion. Reserve adequate work zones for them ensuring minimal overlap for fewer distractions. Simple planning luxuries like this significantly impact project pace and total spend.
Maximizing Space in Small Bathrooms
If your existing bathroom already feels miniscule, it becomes especially important to implement space-expanding tricks in the new design regardless of budget. A few smart layout and fixture decisions make even the tiniest powder room more livable and luxurious:
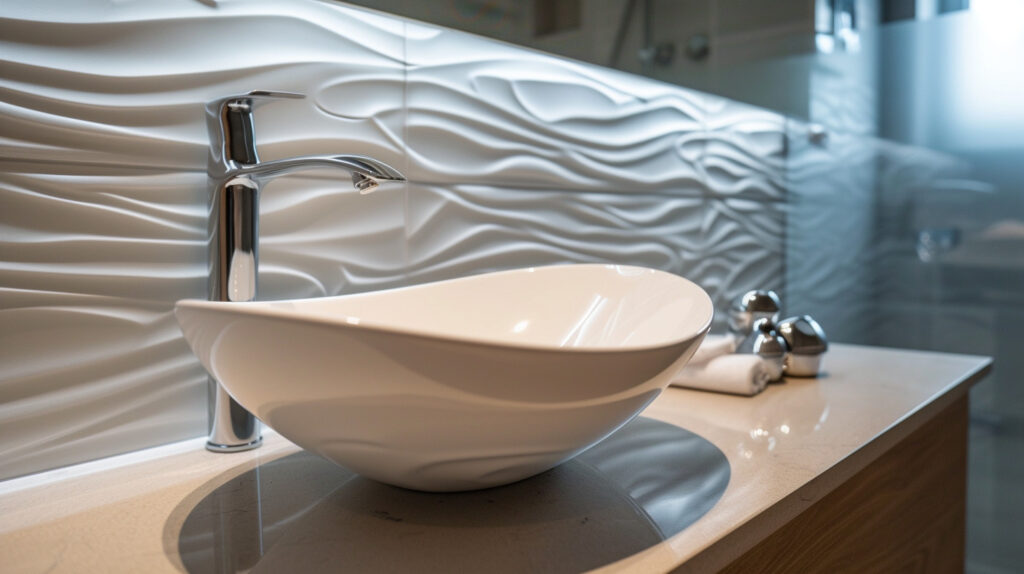
Consider Wall-Hung Toilets & Pedestal Sinks
Lifting toilets and sinks entirely off the ground via discreet wall mounting brackets prevents them occupying precious floor space. The floating effect feels modern and showy too – something often only found in posh hotel bathrooms! Just ensure existing wall framing adequately supports weight first. Undermount squared sinks offer a trendier edge than traditional pedestals also subtly expanding roominess.
Install Room-Height Storage Shelving
While towering floor cabinets dominate in some bathrooms, they close in already narrow spaces significantly. For a more open, airier effect minimize lower storage units. Instead hang floating shelves neatly or display colorful folded towels openly on sleek ladder racks. Room-height storage stays tidy while keeping the eye moving upward, creating the perception of higher ceilings.
Accentuate Lighting Elements
Just because a bathroom’s small doesn’t mean lighting should get shortchanged! Include ample task lighting at the vanity of course, but also elevate overhead ambient elements to center stage. Floating pendant lights, sconces and even mini chandeliers enrich tight bathrooms with gorgeous focal glows. Mixing metals from bronze sconces to brass pendants increases character too. The reflective light makes cramped rooms radiate. Don’t hold back!
Zone Areas Creatively
Rather than cramming every typical bathroom feature together tightly, selectively zone areas wisely. Perhaps the toilet fits discretely behind a frosted glass partition wall. Or install a stylish room divider to delineate the separate vanity area and shower entrance. Thoughtful zoning tricks like these make intimate bathrooms feel curated rather than haphazardly small. Include compact slipper tubs or showers if space truly permits but avoid overcrowding.
Affordable & Elegant Design Touches
Just because you’re completing bathroom upgrades on a conservative budget doesn’t mean sacrificing style! Include these designer details at bargain prices to make spa-worthy magic:
Infuse Color Confidently
While all-white bathrooms keep things light and airy, don’t shy from confident color if it suits you! Vibrant turquoise or teal vanities, fiery orange towels and cheerful yellow accents energize. Or explore moody hues like inky navy, charcoal gray and eggplant purple for a posh effect. Pick a color combo then weave multiple shades of it throughout accessories. Metallics like brass, black nickel and antique bronze fixtures and mirrors mingle nicely with colors too.
Showcase High-End Materials Creatively
Pricey materials like exotic marble, luxe woods, or leather get utilized most impactfully as judicious accent touches rather than main spectacle. Minimize expensive quartz or marble runs on the vanity top itself. But do consider a vibrant marble herringbone backsplash tile focal point behind the bath vanity instead of covering every wall. Or hang a framed exotic leather mirror boldly to infuse luxe texture more affordably.
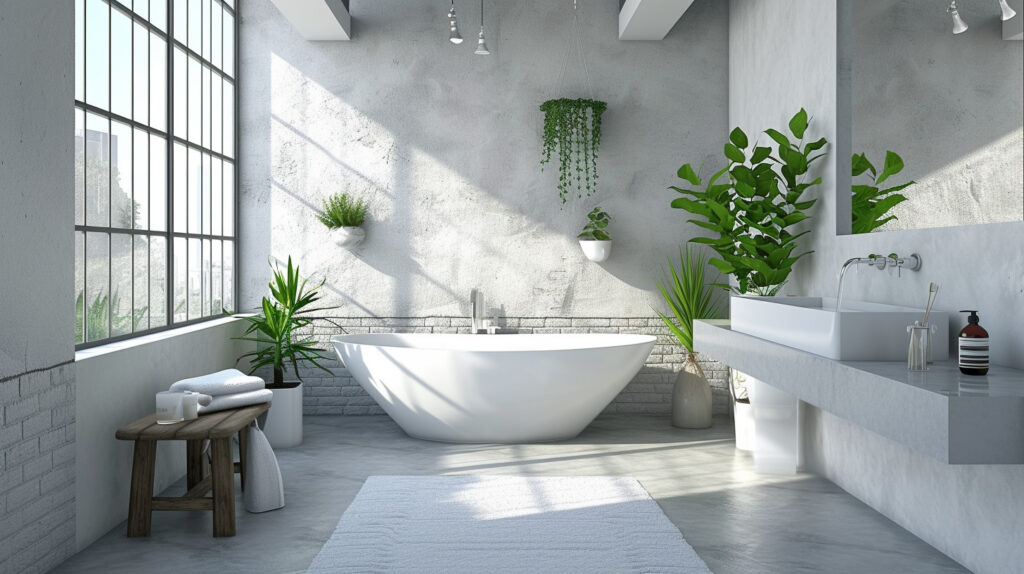
Incorporate Natural Greenery
Nothing ushers in spa-worthy zen quite like hints of nature. If adequate light exists, keep small plantings like succulents, aloe and bamboo fresh with regular watering. No windows? No problem! Flaunt faux boxwood balls, eucalyptus stems and baby’s breath posies in cute vases and planters effortlessly. Floating corner shelves properly anchored make perfect perches for mini gardens too. Just don’t hang directly over shower space.
Display Impactful Wall Art
Bare walls scream vacant and boring, so take advantage of the ample vertical space! Fill it with meaningful framed art, gallery walls of pristine white frames, extra-large mirrors leaning against walls and bronze-cast medallions. When not hung over vulnerable sink or shower areas, consider covering one wall entirely with an eye-popping digitally printed removable mural. World maps, chic patterns and photomurals make great custom art easy and affordable!
Long-Term Care & Maintenance
You’ve selected durable finishes and stripped budgets down thoughtfully upfront already. But don’t sabotage your beautiful new sanctuary down the road by slipping into lazy maintenance habits! Protect investments properly to avoid costly repairs and enjoy space for decades ahead. Here are some key areas needing proactive care:
Check for Signs of Leaks Frequently
Review plumbing fixtures including supply lines routinely for any drips or moisture seepage. Left unaddressed, small leaks create enormous damage to surrounding walls, cabinets and tile over time.
Inspect & Reseal Grout Seasonally
While modern grouts stay color-true longer, still scrutinize floors and tile walls a few times per year. Any areas showing cracks or grungy discoloration need resealing to block moisture entry and prevent extensive mold damage quietly happening inside walls.
Deep Clean Routinely
Don’t allow soap scum, hard water deposits and mildew accumulate heavily before addressing. Establish a seasonal deep cleaning routine using products safe for each material but strong enough to dissolve buildup.
Stay committed to actively maintaining every square inch of your new bathroom rather than taking for granted. Put calendar alerts in place prompting you quarterly or semi-annually to check common areas prone to leakage, erosion and grime buildup. A few hours attentive TLC each year helps recently upgraded bathrooms stay shiny and problem-free for decades to come!
Summary
I hope this detailed guide empowers you to confidently remodel your outdated bathroom beautifully while sticking to real-world budgets. As you learned, with some upfront planning and savvy spending on functional layout changes and high visual impact finishes, it’s entirely possible to reclaim your bathroom on a modest budget.
Remember to establish clear priorities first directing budget to urgent repairs and safety issues in need of attention. Then allocate remaining funds to one or two striking cosmetic changes providing tons of everyday enjoyment – fresh wall colors, cool new lighting or tiles and modern metallic fixtures go a long way! Beyond that, lean on creative upcycling and mixing expensive accents like frames art and decorative tiles much more minimally for tons of bang for buck.
Bathrooms don’t have to cripple budgets! Follow the tips outlined here regarding strategic material selections, DIY project management and tiny space optimizations and you’ll enjoy a revamped bathroom that looks and functions beautifully for years while staying on budget. Just don’t cut corners with cleaning and maintenance later on or problems can brew undetected!
I welcome any additional questions on your own bathroom project! Feel free to email additional details on your current layout, problem spots and aesthetic goals. I’m happy to provide suggestions tailored to your unique home.
Now let’s get your bathroom remodel planned! You’ve got this.

